


pip install dist/pythinker*.tar.gz
popd
auto/_test.sh的内容如下:set -e
test_dir=./model.test
function download_onnx_thinker_models()
{
set +e
dir_name=$1
file1_name=$2
file2_name=$3
file3_name= 4 m k d i r − p " 4 mkdir -p " 4mkdir−p"test_dir/ d i r n a m e " c p / d a t a / u s e r / t h i n k e r / m o d e l s / {dir_name}" cp /data/user/thinker/models/ dirname"cp/data/user/thinker/models/{dir_name}/${file1_name} t e s t d i r / test_dir/ testdir/{dir_name}/ f i l e 1 n a m e c p / d a t a / u s e r / t h i n k e r / m o d e l s / {file1_name} cp /data/user/thinker/models/ file1namecp/data/user/thinker/models/{dir_name}/${file2_name} t e s t d i r / test_dir/ testdir/{dir_name}/ f i l e 2 n a m e c p / d a t a / u s e r / t h i n k e r / m o d e l s / {file2_name} cp /data/user/thinker/models/ file2namecp/data/user/thinker/models/{dir_name}/${file3_name} t e s t d i r / test_dir/ testdir/{dir_name}/${file3_name}
}
#################### fetch onnx graph and config file ####################
export LD_LIBRARY_PATH=./:$LD_LIBRARY_PATH
module load gcc/5.4.0-os7.2
if [ -d “$test_dir” ]; then
rm -rf $test_dir
fi
mkdir -p $test_dir
pushd ./
download_onnx_thinker_models “test_conv1d” “conv1d.onnx” “input.bin” “output.bin”
download_onnx_thinker_models “test_conv2d” “net.onnx” “input.bin” “output.bin”
download_onnx_thinker_models “test_gru” “gru_int.onnx” “input.bin” “output.bin”
download_onnx_thinker_models “test_batchnorm” “batchnormInt.onnx” “input.bin” “output.bin”
download_onnx_thinker_models “test_softmaxint” “softmaxint.onnx” “input.bin” “output.bin”
download_onnx_thinker_models “test_logsoftmax” “logsoftmaxint.onnx” “input.bin” “output.bin”
download_onnx_thinker_models “test_iqsigmoid” “iqsigmoid.onnx” “input.bin” “output.bin”
download_onnx_thinker_models “test_layernorm” “layernorm_int.onnx” “input.bin” “output.bin”
download_onnx_thinker_models “test_shufflechannel” “shuffle_net_10_09.onnx” “input.bin” “output.bin”
popd
###################### compile thinker.so ######################
CMAKE_ROOT=/home/bitbrain/bzcai/anaconda3/bin
pushd ./
pwdn
rm -rf lib
rm -rf bin
rm -rf build
mkdir -p build && cd build
cmake -DCMAKE_BUILD_TYPE=“Release”
-DTHINKER_SHARED_LIB=ON
-DTHINKER_PROFILE=OFF
-DTHINKER_DUMP=OFF
…
make -j4
popd
pushd ./
rm -rf dist/*
python setup.py sdist
pip install dist/pythinker*.tar.gz
popd
###################### compile test.cpp ######################
pushd ./
tpacker -g $test_dir/test_conv2d/net.onnx -s Remove_QuantDequant -o $test_dir/test_conv2d/model.bin
tpacker -g $test_dir/test_conv1d/conv1d.onnx -s Remove_QuantDequant -o $test_dir/test_conv1d/model.bin
tpacker -g $test_dir/test_batchnorm/batchnormInt.onnx -s Remove_QuantDequant -o $test_dir/test_batchnorm/model.bin
tpacker -g $test_dir/test_softmaxint/softmaxint.onnx -s Remove_QuantDequant -o $test_dir/test_softmaxint/model.bin
tpacker -g $test_dir/test_logsoftmax/logsoftmaxint.onnx -s Remove_QuantDequant -o $test_dir/test_logsoftmax/model.bin
tpacker -g $test_dir/test_iqsigmoid/iqsigmoid.onnx -s Remove_QuantDequant -o $test_dir/test_iqsigmoid/model.bin
tpacker -g $test_dir/test_layernorm/layernorm_int.onnx -s Remove_QuantDequant -o $test_dir/test_layernorm/model.bin
tpacker -g $test_dir/test_shufflechannel/shuffle_net_10_09.onnx -s Remove_QuantDequant -o $test_dir/test_shufflechannel/model.bin
tpacker -g $test_dir/test_gru/gru_int.onnx -s Remove_QuantDequant -o $test_dir/test_gru/model.bin
cd test/linux_x86 && rm -rf build && rm -rf bin && mkdir -p build && cd build && cmake -DCMAKE_BUILD_TYPE=“Release” …/
make
popd
######################## run the engine ######################
export LD_LIBRARY_PATH=./bin/:$LD_LIBRARY_PATH
./test/linux_x86/bin/test_x86
rm -rf $test_dir
其中有两个问题需要解决:1、CMAKE/_ROOT的内容,我们需要回到autodl上默认配置的anaconda进行修改;2、autodl并不支持pushd和popd操作,因此我们需要修改为等价的cd命令。 针对问题1:可以通过vim ~/.bashrc来确定路径,如下: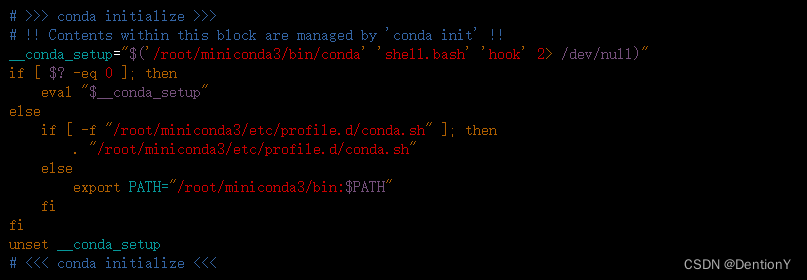针对问题2:由于本机不具备popd、pushd功能,因此需要在thinker安装时修改x86/_linux.sh和auto/_test.sh。修改路径入栈出栈命令pushd、popd为CURRENT/_DIR=$(pwd)、cd "$CURRENT/_DIR",综合路径修改,并无技巧,在x86/_linux.sh和auto/_test.sh中逐行将pushd替换为CURRENT/_DIR=$(pwd)、popd替换为cd "$CURRENT/_DIR"。随后根据[https://aijishu.com/a/1060000...]( )安装好thinker。### 3. 安装好thinker后的2个问题问题1——承接1.1的内容,在python中import thinker出现如下问题: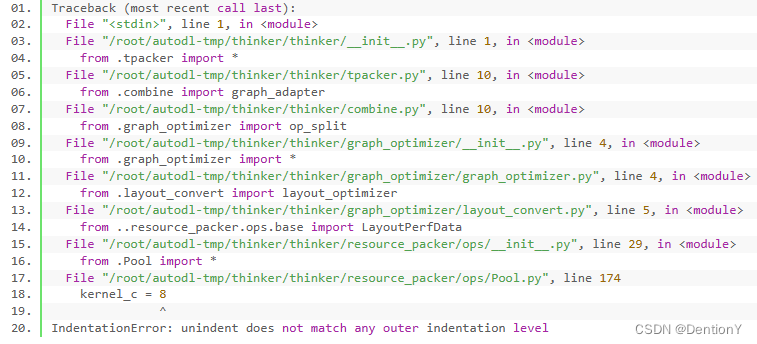出现了缩进错误。修改完Pool.py的174行缩进以后不再报错,完美安装thinker。如下:问题2——最后修改os.login():这是因为在之后复现官方resnet的demo中,使用thinker离线工具 tpacker 对步骤3([https://aijishu.com/a/1060000...]( ))中生成的 onnx 计算图打包过程中出现bug,如下:解决方案是:因为我没有权限获取服务器的os.getlogin(),然而这段代码对功能并不影响,因此我们选择vim打开对应文件后删除os.getlogin()及其相关。随后我们再次打包,顺利通过。以上我们结合安谋科技和聆思科技联合提供的技术文档,将环境移植到平价autodl云服务器上,由于后者提供给用户的权限远远不如本地高,因此本工作对大多数需要在平价云服务器上训练、推理listenai工作的开发者而言十分有必要。## 三、使用官方demo启动摄像头检测人脸参考:[https://cloud.listenai.com/ze...]( ) 开发环境:vmware workstation pro + ubuntu-18.04.6-desktop-amd64.iso(具体安装直接参考网上教程,采用简易开发即可) 该项目是聆思开发的针对Head-Shoulder-Detect的检测,即头肩检测,该算法能力涵盖头肩、人脸、手势等多种检测、识别方法。然而仅仅依靠本文档不足以完成初级开发者的复现。因此本文的作用是在该文档的基础上补充更多细节以便于初级开发者使用CSK6开发板体验官方demo。### 1. 安装cutecom首先安装ubuntu版本的串口工具:cutecom。cutecom有界面,和Windows的mobaxterm,可以选择串口,设置波特率、数据位、停止位等。中间是接收窗口,下面是发送窗口。安装
sudo apt install cutecom
启动
sudo cutecom
以下是界面示例(参考聆思开发者文档中的helloworld例程)但在此之前,我们需要确定串口号,具体方法是在串口之前获取所有的串口号,采用命令行ls -a /dev/tty按下tab键打印所有可显示的串口,如下:在插入usb后,同样方式获取所有可利用的串口,如下:可以发现多出来一个ttyACM0,这就是usb对应的串口。### 2. 安装pyocd为了后续使用DPALink烧录,需要在ubuntu上安装下载pyocd,步骤如下:下载
git clone https://github.com/pyocd/pyOCD.git
复制文件到 /etc/udev/rules.d/ 目录下
cd pyOCD
sudo cp udev/*.rules /etc/udev/rules.d/
强制udev重新加载
sudo udevadm control --reload
sudo udevadm trigger
### 3. 建立项目并完成编译和烧录lisa zep create --from-git https://cloud.listenai.com/zephyr/applications/app_algo_hsd_sample_for_csk6.git #下载并创建
开启本地图像预览
cd app_algo_hsd_sample_for_csk6/
sudo vim prj.conf # 将CONFIG_WEBUSB=n改为CONFIG_WEBUSB=y
进行编译
lisa zep build -b csk6011a_nano
下载应用程序
lisa zep flash
下载资源,使用DAPLink
lisa zep exec pyocd flash -e sector -a 0x18000000 -t csk6001 --base-address=0x18400000 resource/cp.bin --frequency=30000000
lisa zep exec pyocd flash -e sector -a 0x18000000 -t csk6001 --base-address=0x18500000 resource/res.bin --frequency=30000000
之后启动cutecom观察:### 4. 安装并使用PC查看工具git clone https://cloud.listenai.com/zephyr/applications/csk_view_finder_spd.git
使用 Type-C数据线连接 CSK6 USB 接口至电脑 打开 index.html 文件,参考该html文件即可一步步完成安装。 最后的显示效果如下:利用开发板上的镜头投射到网页并追踪人物。---## 总结**自我介绍一下,小编13年上海交大毕业,曾经在小公司待过,也去过华为、OPPO等大厂,18年进入阿里一直到现在。****深知大多数嵌入式工程师,想要提升技能,往往是自己摸索成长或者是报班学习,但对于培训机构动则几千的学费,着实压力不小。自己不成体系的自学效果低效又漫长,而且极易碰到天花板技术停滞不前!****因此收集整理了一份《2024年嵌入式&物联网开发全套学习资料》,初衷也很简单,就是希望能够帮助到想自学提升又不知道该从何学起的朋友,同时减轻大家的负担。**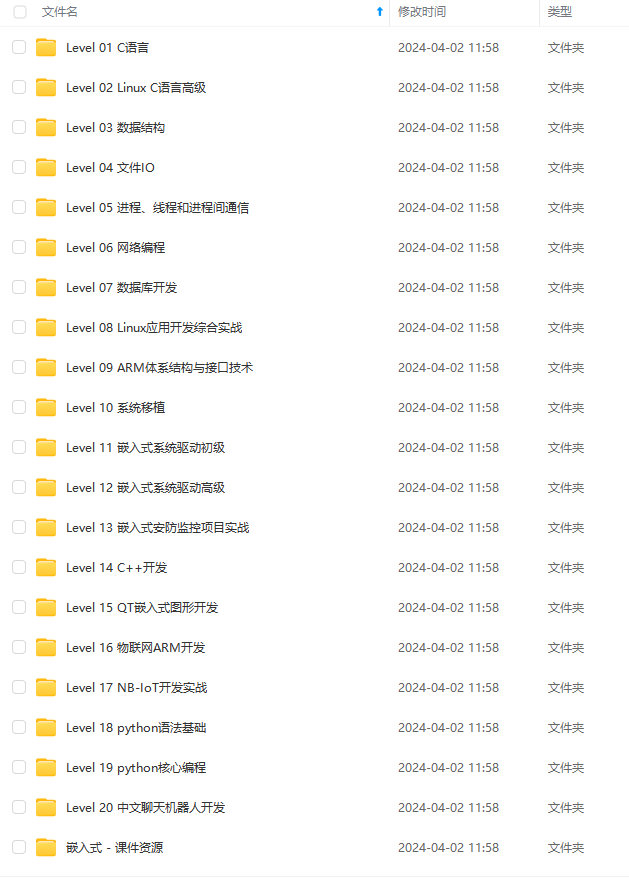 **既有适合小白学习的零基础资料,也有适合3年以上经验的小伙伴深入学习提升的进阶课程,基本涵盖了95%以上嵌入式&物联网开发知识点,真正体系化!**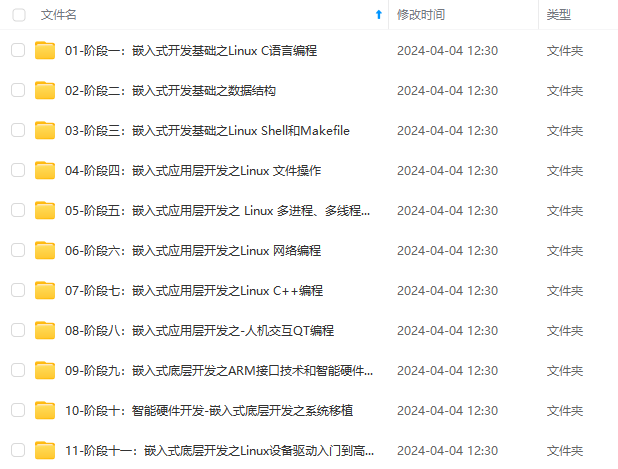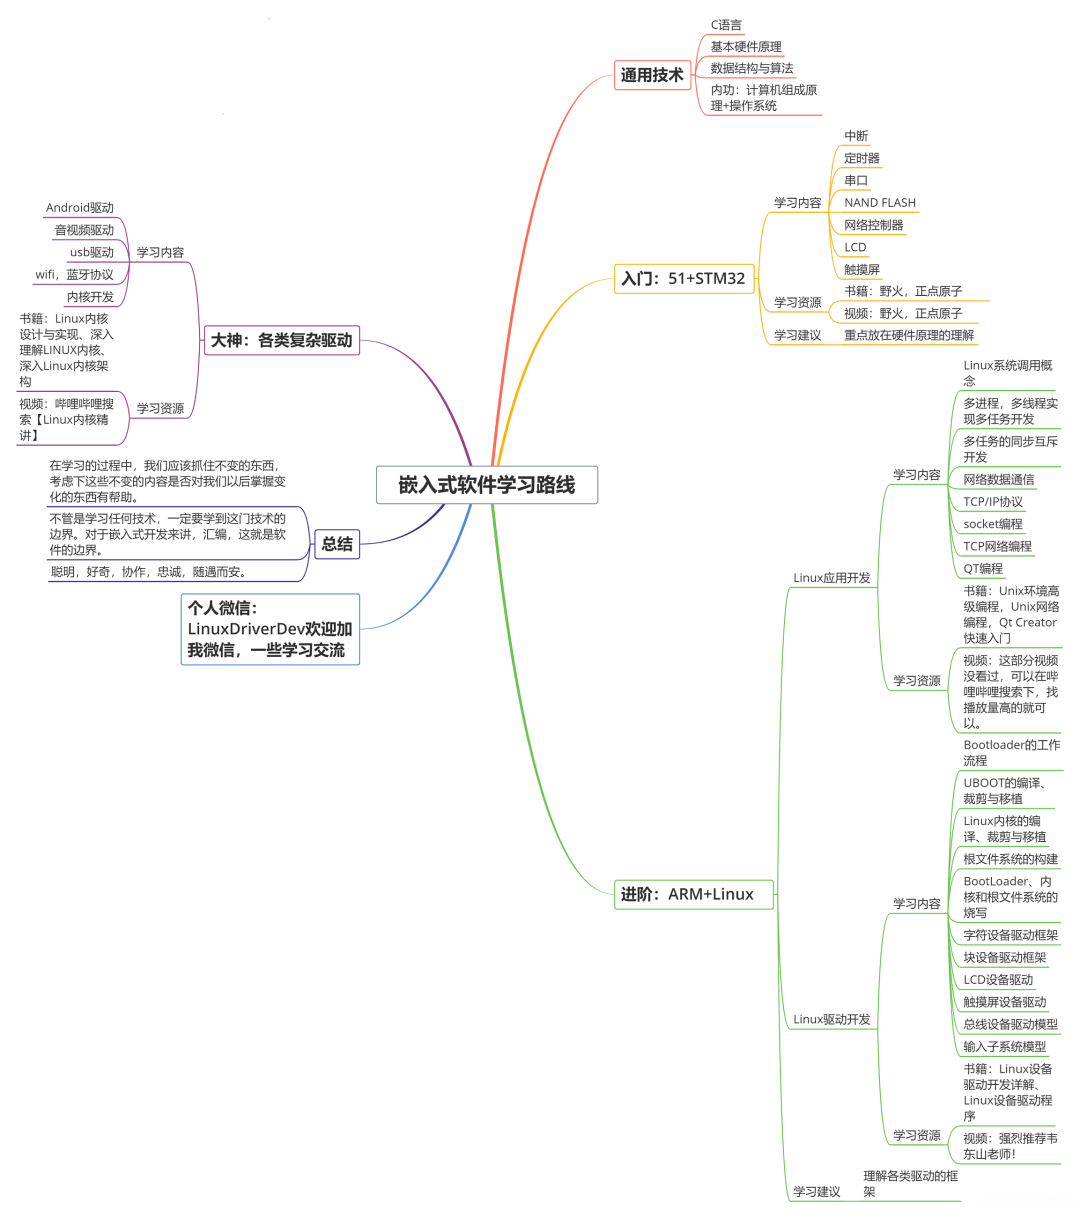 **由于文件比较大,这里只是将部分目录大纲截图出来,每个节点里面都包含大厂面经、学习笔记、源码讲义、实战项目、讲解视频,并且后续会持续更新****如果你觉得这些内容对你有帮助,可以+V:Vip1104z获取!!! (备注:嵌入式)**<img src="https://img-community.csdnimg.cn/images/73bb5de17851459088c6af944156ee24.jpg" alt="img" style="zoom: 67%;" /># 最后**资料整理不易,觉得有帮助的朋友可以帮忙点赞分享支持一下小编~****你的支持,我的动力;祝各位前程似锦,offer不断,步步高升!!!**项目、讲解视频,并且后续会持续更新****如果你觉得这些内容对你有帮助,可以+V:Vip1104z获取!!! (备注:嵌入式)**<img src="https://img-community.csdnimg.cn/images/73bb5de17851459088c6af944156ee24.jpg" alt="img" style="zoom: 67%;" /># 最后**资料整理不易,觉得有帮助的朋友可以帮忙点赞分享支持一下小编~****你的支持,我的动力;祝各位前程似锦,offer不断,步步高升!!!****[更多资料点击此处获qu!!](https://bbs.csdn.net/topics/618376385)**


